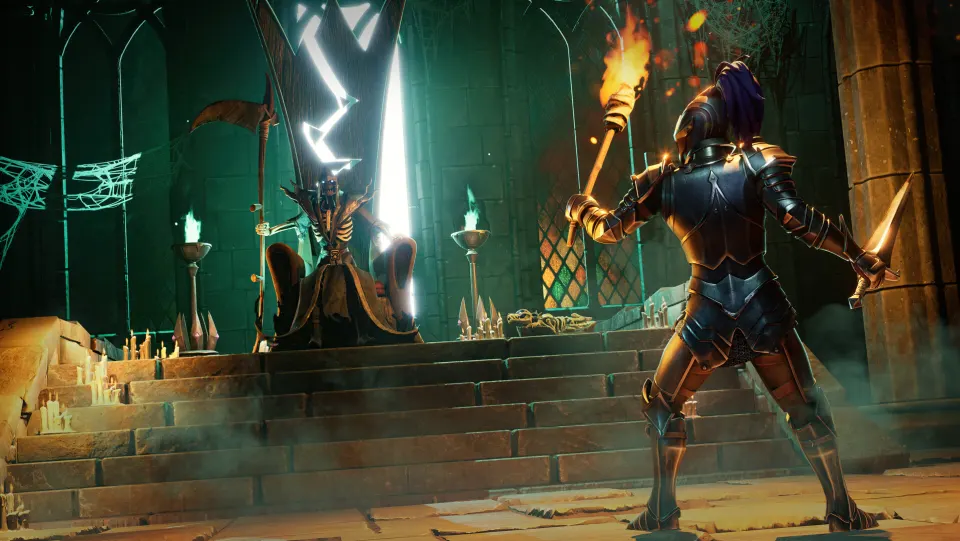
Quest overview and preparation
Black Knight's Fortress takes you through Dowdun Reach to collect 13 Dreaming Stone shards, repair the stone, and reach the Gatekeeper. This primary quest advances your journey toward Umbral Sands and offers Titan's Wrath along its reward path. Prepare for fortress combat, buried objects, fishing, and environmental puzzles.
The Dragonwilds Wiki places the quest in Kuldra's Saga and lists Withering Heights as its prerequisite. The story follows your victory over Imaru in Fellhollow.
Pack tools for the individual objectives before starting:
| Task | What to bring | Why it matters |
|---|---|---|
| Digging | Steel or Undead Spade | Buried chests and a concealed lever require excavation. |
| Mining | Mithril Pickaxe recommended | A Pastures shard is beneath granite. |
| Woodcutting | Mithril Logging Axe | Gather maple sap and clear obstructing vines. |
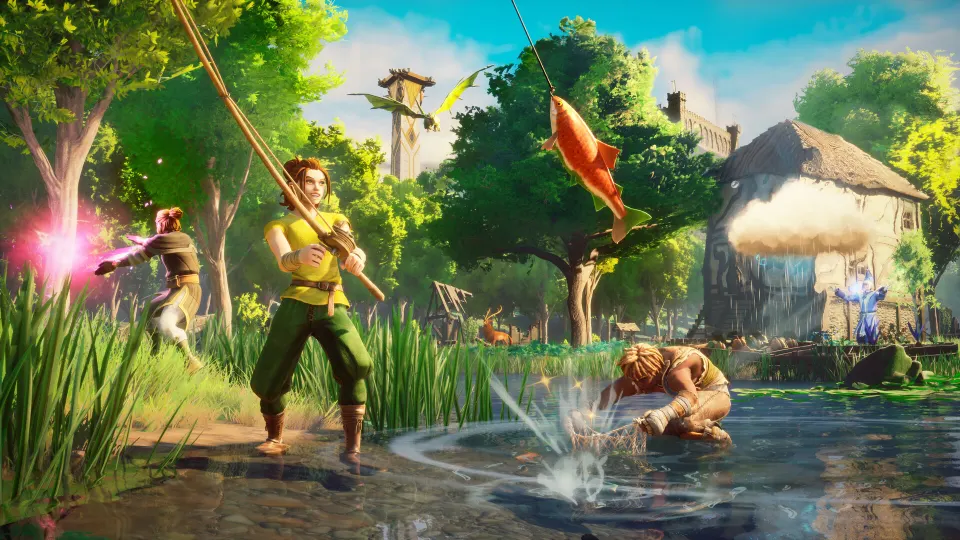
| Fishing | Any Fishing Rod | An underground NPC requests an unusual trout. |
| Supplying Spittletoe | 5 Maple Sap | His request awards a shard near the Great Hall. |
| Combat | Food, healing, Wardstones, ammunition or runes | Several pickups involve guarded rooms. |
Tool advice differs: the Dragonwilds Wiki allows a Steel or Mithril Pickaxe, while MetaForge specifies Mithril. Bringing Mithril covers both recommendations.
The wiki also lists Cooking 41 for making maple syrup, or a maple toastie obtained from food salvage. It gives the toastie salvage chance as 1 in 24.
Before leaving:
- Repair your weapons and armor.
- Bring Windstep for elevated routes and platform crossings.
- Leave inventory space for quest objects.
- Expect Black Knights, Zamorak mages, hellhounds, demons, and blue dragons.
How to reach the Dreaming Stone
Begin by speaking to Death in the Forgotten Temple. He directs you to Cathan near the gatehouse south of Silverthorn Keep, east of Fellhollow.
The Dragonwilds Wiki identifies Death as the quest starter; MetaForge begins at Cathan. Speaking to Death first covers the introductory sequence.
| Stop | What to do |
|---|---|
| Forgotten Temple | Speak to Death about your next destination. |
| Southern Silverthorn Keep | Find Cathan near the ominous gatehouse. |
| The Approach and Courtyard | Enter the ominous door, travel south, and meet the Wise Old Man. |
| The Nexus | Continue uphill, speak to Doric, and interact with the Dreaming Stone. |
Entering the ominous door triggers a cinematic. MetaForge warns that Carnivorous Chinchompas along the approach explode when they get close.
Activate the Courtyard Lodestone. The Wise Old Man also suggests establishing a base camp before pushing farther into the fortress.
At the Nexus, speaking to Doric and the Dreaming Stone introduces the central task: recovering its 13 scattered shards.
All 13 Dreaming Stone shards
These numbers form a travel checklist, not a mandatory collection order. Follow active Journal requirements for NPC requests and check your count after each pickup.
The 13-shard YouTube walkthrough demonstrates the garrison, Pastures, underground, library, and lever objectives. Dragonwilds Hub also describes the later beam route and cathedral courtyard pickup.
| Shard | Landmark | Collection objective |
|---|---|---|
| 1 | Upper garrison tower | Climb to the elevated shard platform. |
| 2 | Sergeant Blister's room | Defeat Sergeant Blister to remove the barrier. |
| 3 | Pastures building | Collect the shard inside the goblin-occupied structure. |
| 4 | Pastures dragon area | Break the granite covering a corpse and shard. |
| 5 | Farm near the Great Hall | Give maple sap to Spittletoe. |
| 6 | Dungeon beneath the Courtyard | Read the note near the zogre, then excavate the chest. |
| 7 | Underground fishing area | Catch the unusual trout and return it to the NPC. |
| 8 | Lower cavern beyond the elevator | Defeat two lesser demons guarding the barrier. |
| 9 | Library's sealed passage | Solve the book mechanism, descend, and defeat two demons. |
| 10 | Upper route beyond the library | Retrieve the requested buried memory and return it. |
| 11 | Menagerie | Activate three hidden levers to open the enclosure. |
| 12 | Beam route south of the menagerie | Cross the beams and platforms. |
| 13 | Cathedral courtyard | Remove the obstruction protecting the shard. |
Garrison towers and Pastures
From the Courtyard, follow the uphill route toward the garrison towers. Climb their stairs, bridges, and platforms, using Windstep for vertical gaps. Clear ranged enemies before attempting exposed jumps.
Reach Sergeant Blister's chamber near the fire-trap bridge for the second shard. His defeat removes its barrier. Watch your footing around fire and lava.
The Pastures pickups are inside a goblin-held building and beneath granite near a blue dragon. Their numbering varies between video guides; track the landmarks instead. Use your pickaxe to expose the granite-covered shard.
At the farm near the Great Hall, supply Spittletoe with maple sap. The YouTube walkthrough also shows him awarding the maple toastie recipe.
Underground objectives
Enter the dungeon below the Courtyard and read the note near the zogre. Use your spade to uncover the chest containing a shard.
Continue toward the underground water for the fishing request. Catch the unusual trout at the nearby fishing spot and hand it to the requesting NPC.
For the next shard, return toward the lesser demon area and take the elevator down. Follow the lower route toward the bridge, where defeating two lesser demons removes the barrier.
Library puzzle and buried memory
Read the notes beside the library's glowing door. The mechanism requires interacting with four books in sequence. A correct selection produces a mechanical click; choosing incorrectly resets the sequence.
Once the passage opens, descend and defeat the two demons guarding the shard. Collect it before returning through the library.
The next request begins along the upper route outside the library. Speak to the quest NPC before continuing higher toward the blue dragon. Dig up the requested object, then return it to receive the shard.
Menagerie, beams, and cathedral
The menagerie enclosure uses three levers. The YouTube walkthrough shows one buried lever, another in a ruined building to the north, and a third behind thorny vines along a southern passage. Bring your spade and logging axe.
For the beam route, Dragonwilds Hub recommends clearing hellhounds and ranged enemies first. Prepare each Windstep crossing from a stable platform.
At the cathedral, descend toward the courtyard and remove the environmental obstruction. Confirm 13 collected shards in your Journal before returning to the Nexus.

Restore the stone and defeat the Gatekeeper
Return the complete collection to the Dreaming Stone. Restoring it removes the next barrier and opens the route toward the Gatekeeper.
Dragonwilds Hub recommends activating the nearby Nodestone before entering the boss area. Repair equipment, refresh food, prepare an appropriate Infusion, and keep emergency healing accessible.
The same guide recommends this attack pattern:
- Take openings for two or three attacks, then watch the next telegraph.
- Save stamina for movement and dodging.
- Create distance during large fire patterns.
- Dodge projectiles instead of absorbing them while attacking.
Later, the Gatekeeper's sword ignites and adds fire pressure. Ranged and Magic builds can attack from farther away. Melee players should wait for a clear approach before committing to another short sequence.
Replenish Wardstones during safe recovery windows; doing so while an attack approaches leaves you exposed.
Rewards and the route to Umbral Sands
After defeating the Gatekeeper, return to the Dreaming Stone. Dragonwilds Hub lists these items along the reward path:
| Reward | Details |
|---|---|
| Titan's Wrath | A melee weapon also highlighted in the 13-shard YouTube walkthrough. |
| Tome of the Titan | Listed by Dragonwilds Hub as a quest reward. |
Check the reward interface for item details before equipping or storing them.
The guides describe final progression differently. The Dragonwilds Wiki includes the Black Knight Titan among the quest's enemies, while Dragonwilds Hub calls the immediate boss the Gatekeeper and separately emphasizes the Titan's role in opening Umbral Sands.
Follow remaining Journal objectives after the fight. Collecting the shards completes the restoration requirement; finish subsequent combat and dialogue before treating the route onward as complete.
FAQ
Where does the runescape dragonwilds black knight fortress quest start?
Speak to Death in the Forgotten Temple after completing Withering Heights. He sends you to Cathan near the ominous gatehouse at southern Silverthorn Keep.
Do I need Cooking 41?
The Dragonwilds Wiki lists Cooking 41 for producing maple syrup, with a salvaged maple toastie as an alternative. The listed salvage chance is 1 in 24.
What should I check if a shard is missing?
Compare your Journal count against the checklist. Revisit quest NPCs, check floors above and below markers, and complete required dialogue before digging. At the menagerie, confirm all three levers are activated.
Can Windstep replace the required tools?
No. Windstep helps with traversal. You still need tools for buried objects, granite, vines, and fishing. Carry the full kit to avoid interrupting the shard hunt.